Reading time:9 min reads

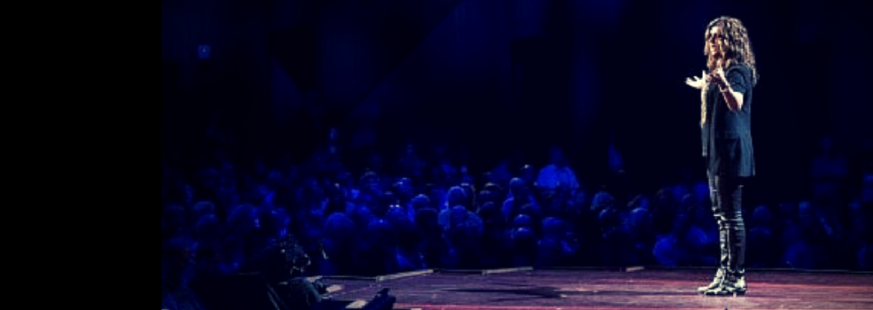
A few months ago, my grandmother, at the wise age of seventy-nine, decided it was time to get on Facebook.
She was sick of hearing that all of the photos her thirty-odd grandchildren and great-grandchildren were solely being shared on Facebook (and maybe on Instagram, but we didn’t get into that). The baby photos from my cousin's newest arrival. My latest trip to the mountains in Oaxaca, Mexico. My youngest sister’s new downtown apartment.
No one is printing and mailing photos anymore, and we aren’t even emailing them. What was she to do? She still wanted to see what everyone was up to.
She had been using email proficiently for years, how hard could Facebook be?
So, she signed herself up but was quickly lost in the endless options, chat boxes, and menus.
The onboarding process was no easy feat.
“I just want to see the pictures!” she implored on the phone. I explained how to “Add Friends”, and how then you could to go to their profile and click on the albums.
Her exasperation was audible and I imagined her clicking and clicking searching for pictures of babies, and only finding endless links to indie rock music and politically outraged news articles.
Now, you can probably see where I am going with this, and I’ll start by saying that I am well aware that most people on SpeakerHub are much farther advanced in signing up for things. You can probably figure out a new platform in under an hour, and get it to work for you without too much of a hitch.
But we also know that sometimes from the development side, we get so excited about adding new features, we sometimes forget what it is like to be a new user on a platform.
This is why we are crafting this post: the idea is to get you from sign-up to being contactable by event organizers as easily as possible.
Your profile is a lot like an advance Speaker One-Sheet. We want to get the best information to the event organizer as quickly as possible.
We’ve done this by breaking the profile layout into large chunks. Below I’ll explain these sections and why they are important to event organizers.
 |  |

This includes the who, what, where and how much?
It’s essential that this part of your profile is eye-catching and attractive because it’s going to get the event organizer to scroll down and find out you’re a best-selling author. But they won’t get there unless this red section engages them first.

One of the hardest parts of being an event organizer is that everyone looks amazing on their speaker website, but are they really any good at speaking? This section helps event organizers separate the good speakers from the mediocre.
This section includes:

This is the “meat” of your profile. We’ve kept it nicely organized, but there is a ton of information you can include here. Here is what all the headings mean:
Top of the yellow section: Who are you?
Bio: You have 3000 characters to describe who you are, and where you’ve been.
Save your expertise and work experience for other parts of the profile; this is where you are going to give the organizer a really good idea of who you are as a person. Want to edit this section?
You can find it under “Personal Details” in the profile editor.
Current position(s): This is where you can list the projects and positions you are currently involved with. On a board? Doing consistent consulting work? An employee of an organization? List it here!
Add this information under the section “Expertise” in the profile editor.
Degrees: Did you go to school for your topic? Prove your expertise and put that education to work here.
Add your education under “Expertise” in the profile editor.
Bottom of the yellow section: Your media
Videos: This section is important because without seeing you, event organizers are taking a big risk.
It would be like staying at an Airbnb that had no pictures - risky business.
Include demo reels or presentation clips, basically anything that will give the event organizer and idea of what you look and sound like.
Photos: Event organizers want to see what you look like, whether this is on stage or in the training room. Keep it professional, and remember that you want people to book you because you are an expert on your topic. Your photos should reflect this.
Slides: These are the visual components of your presentation.
Some people call them decks, slide decks, KeyNotes, PowerPoints, Prezis, presentations, presentation slides, and one time, we’d even heard someone call it a “slideshow”, but no matter what you call it, they are the visual backing for your presentation.
You can upload your presentation to SlideShare (or Scribd, or another slide hosting site) then drop the link into the “Media” section in the editor.
One-Sheet
You can upload your speaker one-sheet for event organizers to take a gander at here. Upload your one-sheet as a .jpeg or pdf. Want to know a bit more about one-sheets? Go here.
Press Kit
Your press kit (sometimes called a media kit) is a great way to pre-package the information about your speaking abilities for the event organizer. It is a helpful resource for finding out more about you and filling in the right information on the event page when you’ve been booked!
Shared Content
From training documents to white pages to workbooks, you can share any kind of relevant documents on your profile. Organize the documents in different folders, and share links with audience members, colleagues and event organizers.

This is where you fill in all the information about your presentations. What can you talk about, and why is it unique? Give the title of your talk and workshops, and the basics of what your message is.
You can also cover the topics which you have talked about in the past in the section labeled “Past Talks”

It is all fine and good to say that you are an expert in something, but proving it can be the difference between getting booked or not. This is why we have included a section on your profile where you can showcase your expertise in the form of awards, tags, books, and articles.
If you’d like your most popular or most recently published content to show on your profile under the heading “Books & Articles”, add the link to your book or article under “Publications”.
Receiving an award or certification is not only an honour, but is amazing proof of your expertise on a subject. Add your awards to your profile by going to the section called “Expertise” and adding the title, year, and organization under “Awards & Certifications”.
One of the most important parts of your profile is your “Expertise” tags. More often than not, when an event organizer starts a search, they will add the topic that they are looking for an expert in. This is where the tags come into play. If they search a keyword, (for example: digital advocacy) and you have added this tag to your profile, your name will come up in the search. Add as many tags as you have under the profile editor section labeled “Expertise”.

Do you have any questions about your profile, how it works, or how to make it attractive to event organizers? Shoot us an email, and we’ll help.
Popular Categories